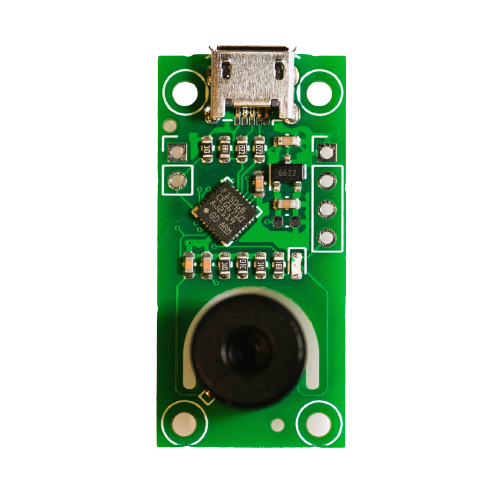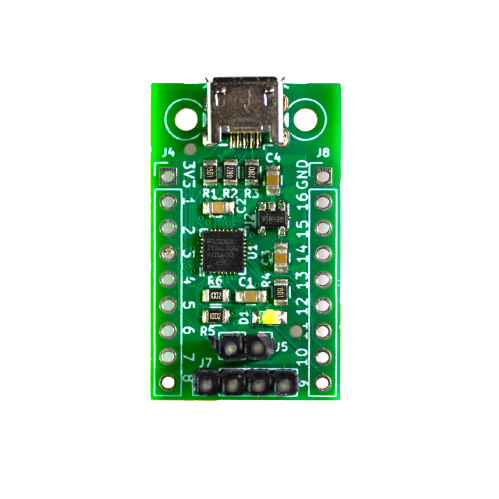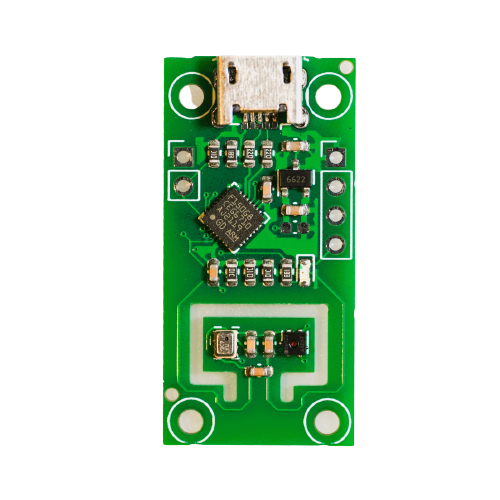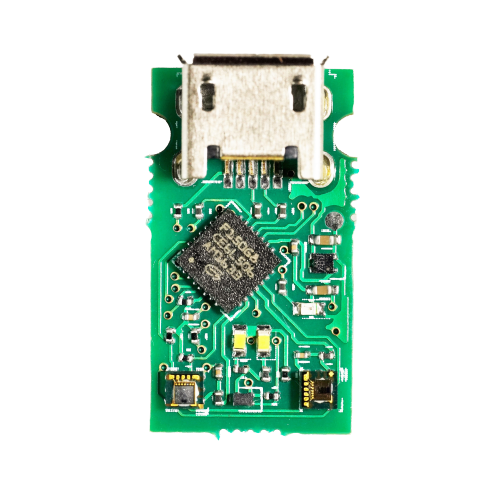
Features
Command driven
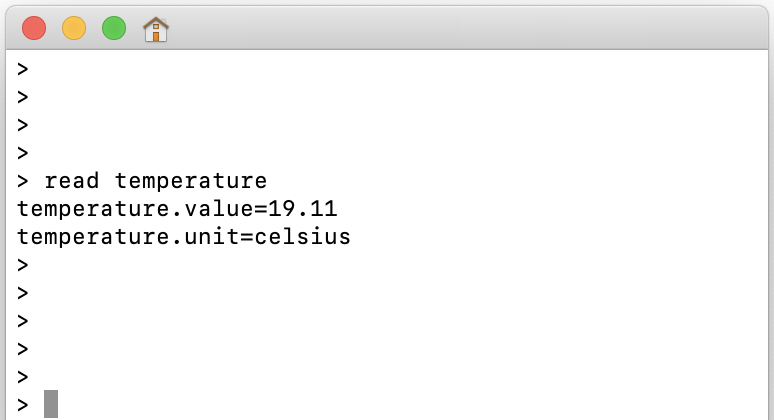
The device has a command line parser built in. To operate the device, you can send commands to the device through a terminal.
USB connected
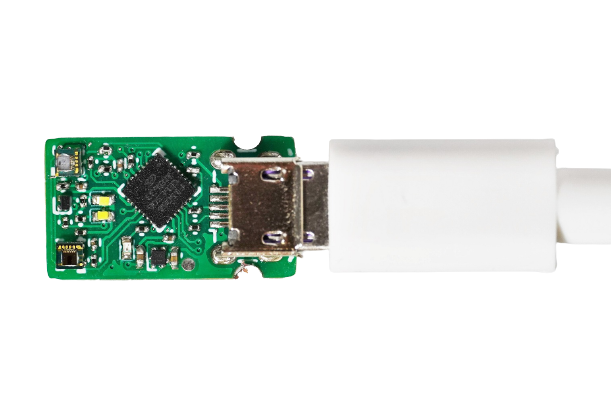
USB port is widely available. It is super easy to connect your device to a laptop, a single board computer, a tablet or a phone.
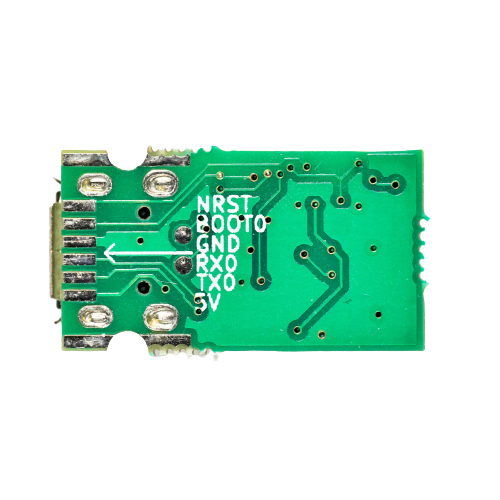
UART connected
Besides USB connection, UART connection is also an option. The UART pins are on the bottom side of the device.
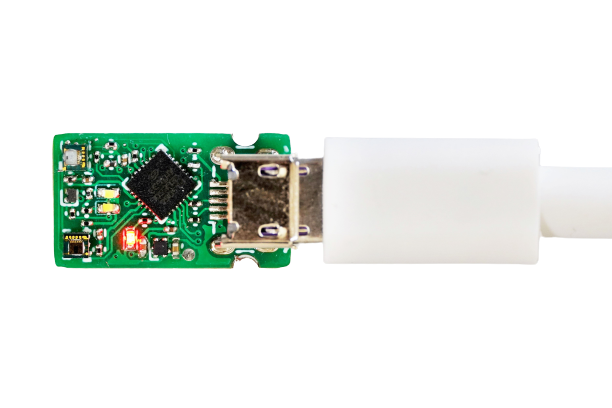
Status LED
The red LED light blinks every two seconds to show the healthiness of the device.
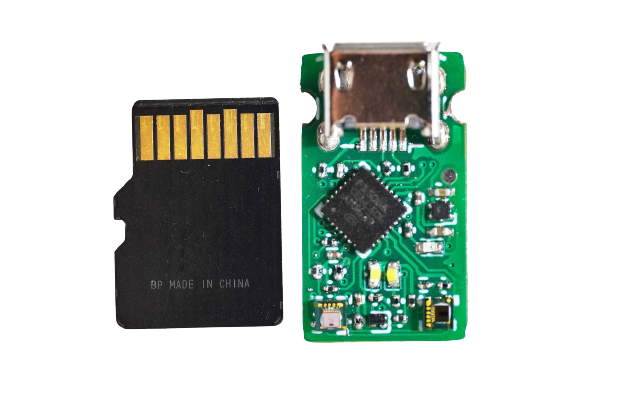
Tiny
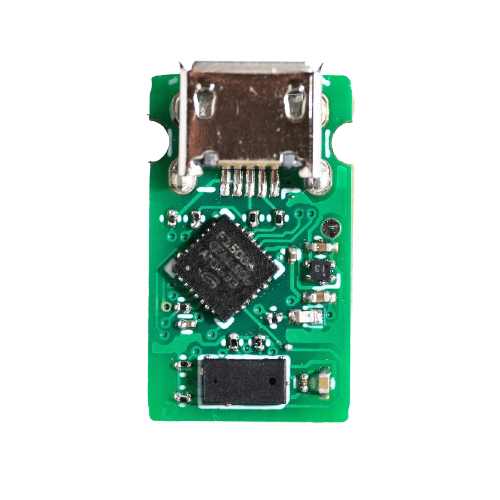
Besides running the device in standalone mode. You can easily solder the device with your project without compromise the portability and size.
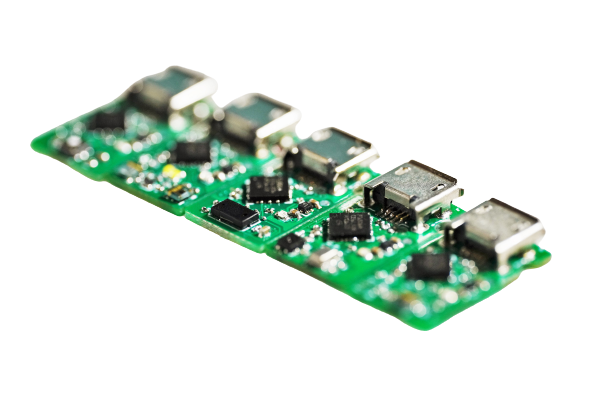
Powerful
With a 72MHz processor, the command parsing is smooth and the sensor data processing is fast.

Calibration available
Fine tune the accuracy of your device is not a problem. You can adjust the calibration parameters using commands. (device dependent)

Documented
Each device has a link to its documentation. You can get the documentation link by command.
